Google has introduced the Google Tag Manager, a new tool that will greatly facilitate the life to which we are dedicated to online marketing and web analytics.
Surely you have already found several websites that make this fantastic tool (free), so I thought it would be interesting to explain how.
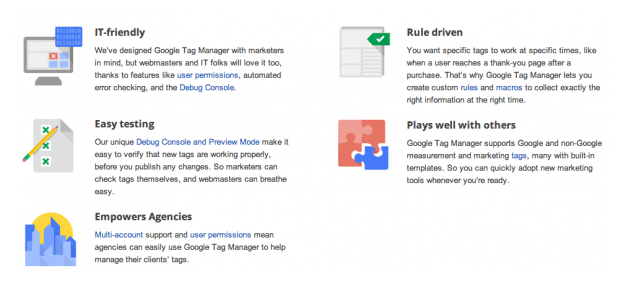
To do so, I will explain how to implement a basic tag on your website.
Implementing Google Tag Manage
1. CREATE AN ACCOUNT
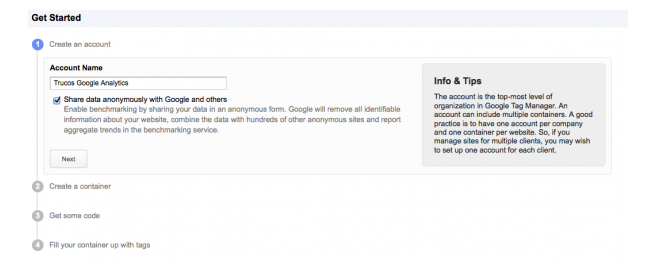
The first step is to implement the tag manager that is not trivial, but also not difficult. To begin, we must go to the website of Google Tag Manager and enlist a new account:
2. CREATE A CONTAINER
Once the account is created, we create a container. A container can be defined in more than one domain, but usually creating a single domain container is beneficial.

3. ADD THE CODE
After accepting the terms of use of Google Tag Manager, we will implement the given code on our website.

This code should be pasted on every page of our website right after the <body> tag.
This will surely be the last request of implementation that the development team will receive by the marketing department.
4. ADD THE CUSTOM TAGS
We have successfully implemented the GTM on our website, now we just need to define the tags you want to add:

Initial Configuration Manager Google Tag
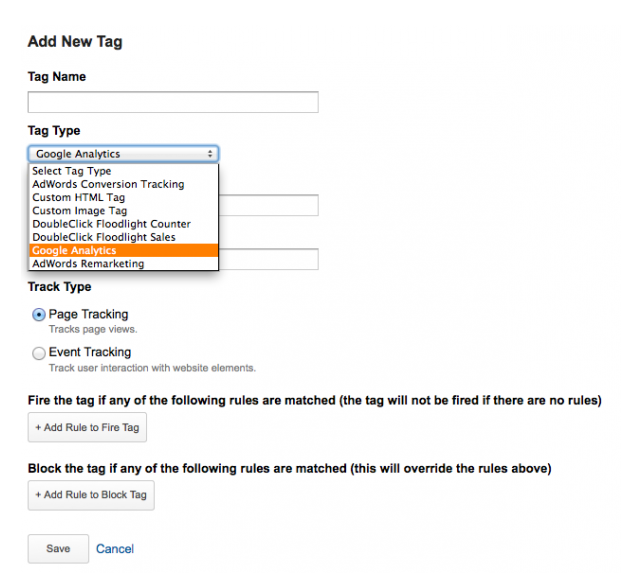
Google helps us to easily apply some tags. By default, tags that can be implemented are:
- Google Analytics
- Adwords (Tag conversion and remarketing)
- DoubleClick
- A custom HTML
- A call to a pixel own
Implementations of the first 3 have no difficulty. While implementing the other two tags, you need to fill in the required fields in every tool.
For now, Google Analytics only include a basic execution (standard code), so if you want to make a more advanced implementation, you will need to pull the custom HTML option.
Defining macros, rules and tags
To apply any tag on our website, GTM uses these three categories: macros, rules and tags.
MACROS
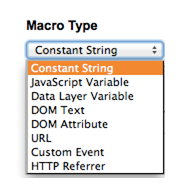
Macros are variables that give us dynamic information based on some conditions. By default, we have 3 macros defined: url, referrer and event, with which we can create most of our rules.
We can create additional macros to provide additional information with the content of our website or actions taken by the user.
RULES
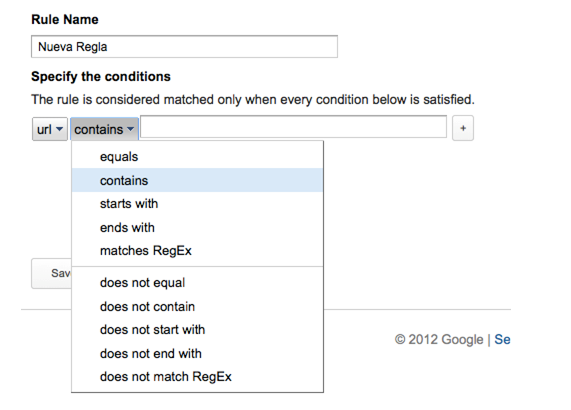
The rules define the conditions under which a particular tag can run. By default, we have a definite rule, which specifies that a tag should be applied on every page of your website.
Rules are defined using macros. For example, if we define a rule from a URL, we can define the launch of a specific remarketing code when visiting the page (or pages) as defined in the rule.
TAGS
Finally, we have the tags, or labels, where we define the codes (or tags) that we will run on our website.
When you add a new tag, it will define the rules that must meet the current tag. You can also define the rules under which the tag will be blocked.
Testing and publication
Whenever you apply a new change in the tag manager, you can perform a preview, before publishing it. Thus, we can see if the changes we have implemented will work without causing an error on the web.
In addition, there is a debug mode that will allow you keep a track of tags that are released, at any time.

More information about Google Tag Manager
To read more about the GTM and to implement the tag manager in your website, I recommend you to contact any of the Google Certified Partner GTM like New Media Guru (NMG).
